Hanging Ribs!
My personal favorite way to cook ribs is to hang them using a hot and fast method. It's a different way to cook ribs and it's definitely not the mainstream way. I don't mind pushing traditional limits of how things should be cooked or prepared. Most importantly we should encourage all cooks to try new things. Push boundaries. As grilling and bbq cooks, we are artist and food is our craft. So BE BOLD! Experiment. I learned about this method from a professional competition cook Tim Scheer of the bbq team Shake and Bake BBQ. He explained that he was getting his butt kicked in ribs while competing. He started to focus on the tenderness of the meat and discovered that hot and fast hanging ribs provided great tenderness and flavor. He then started winning in rib categories like crazy and he ended up with a jacket proclaiming he is “The Rib King”. At first I was not a believer but after hearing him speak on it. I was so intrigued that weeks later I purchased an ugly drum kit from Big Poppa Smokers to try it out. I modified the drum right away so I can hang ribs. I instantly loved it because the ribs cook so quickly and came out very tender and flavorful. In this blog post I will share my method of hanging ribs with you.
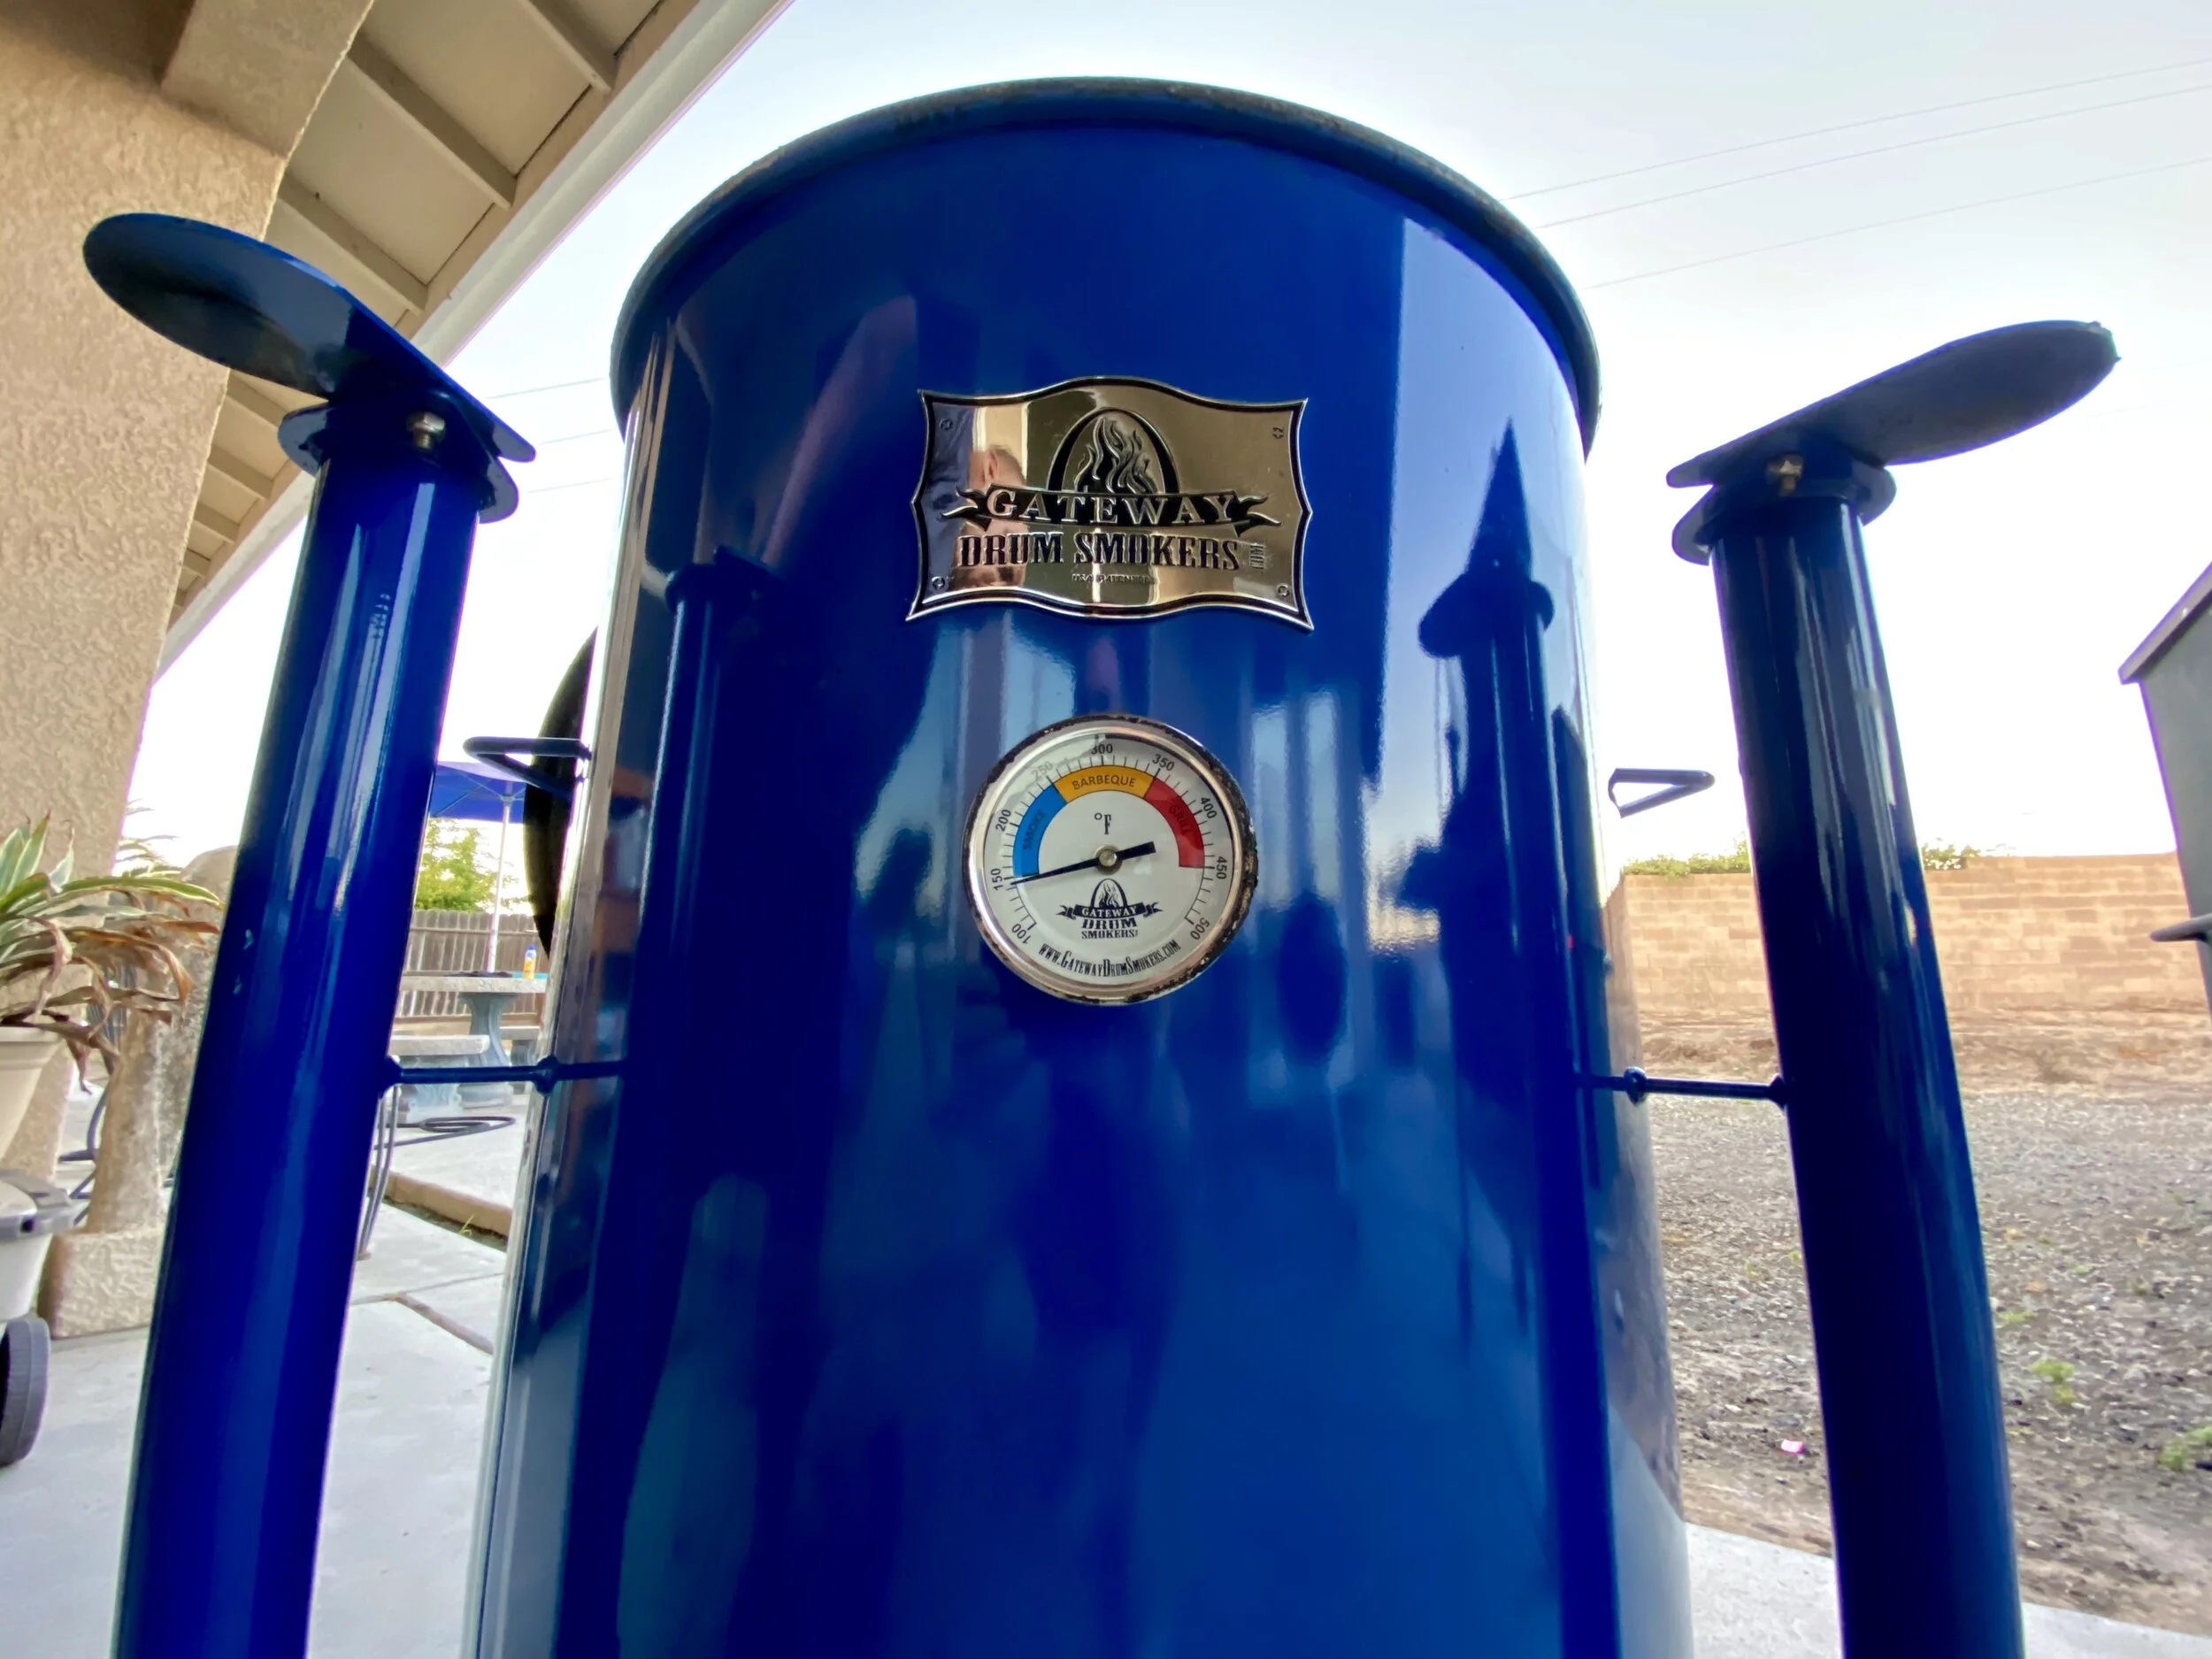
First of all you need the right kind of cooker and hooks (click here for hooks). If you are going to hang ribs you need to make sure that you have enough room for the ribs to hang. Sometimes you need to know how far your ribs will hang down because you don't want them to lay onto the coals. There are many cookers that you can hang ribs but the most common cooker is known as an ugly drum smoker (UDS). I use and love a Gateway Drum Smoker. Not only is it beautiful, but it is engineered for the job of maintaining heat and good airflow. Whatever you use, make sure that you can have a clean burning fire throughout the cook.
Trimming the ribs is a must. Please see our blog on trimming. The main takeaway is figuring how you want your ribs to look at the end. When hanging ribs you don't have to pay particular attention to meat that is hanging closest to the fire because only the very edge might char a little while protecting the rest of your ribs anyway. You need to place your hooks in the ribs about 2 bones away from the thickest edge. When placing the hook, try to place it right under so that you don't poke a hole in the center of the meat space between bones. Check out our Rib Prep video to see. I like to make sure that all the racks are hooked and easy to grab once my fire is ready.
Getting the fire ready, I will light about half of a basket of lump charcoal with my electric starting ring. The amount of fuel needed will vary by the cooker. Once the fire gets going I will add only one chunk of apple or cherry wood for flavor. Then I wait for the wood to catch fire and the smoke to burn clean. I set the intake and exhaust vents to my normal positions and then make small adjustments from there to make sure I am maintaining clean smoke.
When we are hanging ribs, we need high heat and clean smoke. I don't really care about what temperature that I’m cooking at. Wait, is this mind blowing? My mind was blown too when Tim Scheer mentioned this during his cooks. I thought woah, this is against everything that I know about bbq. What I have learned is that if we get good heat and smoke we can produce great food when cooking in a UDS. We need clean smoke. When we put the ribs into the cooker we do want to be cognisant of any wood chunks that would possibly catch flame. Flame on the ribs can cause some scorched spots. We want an even burn to make beautiful bark. When cooking in a UDS the heat and smoke rises to the top of the cooker and cools off as it hits the lid, sending airflow down again. The movement of this airflow allows for everything to cook evenly while in the cooking chamber.
Once our smoke and heat looks great. “Carefully” place the hooked ribs on the rack. I never want to bounce them on the rack because I don't want the hook connection to weaken and a rack of ribs dropping in the fire. Once the ribs are on the smoker, let's talk about my absolute favorite thing about hanging ribs. AROMA. No, it's not a town in Italy. I’m talking about the smell that you get as the fat from the ribs melt and hits the coals. This fat then sizzles and fries up on the coals creating a smell and an AROMA that sticks to the meat. I don't believe that I did any justice describing the AROMA. You need to experience it for yourself.
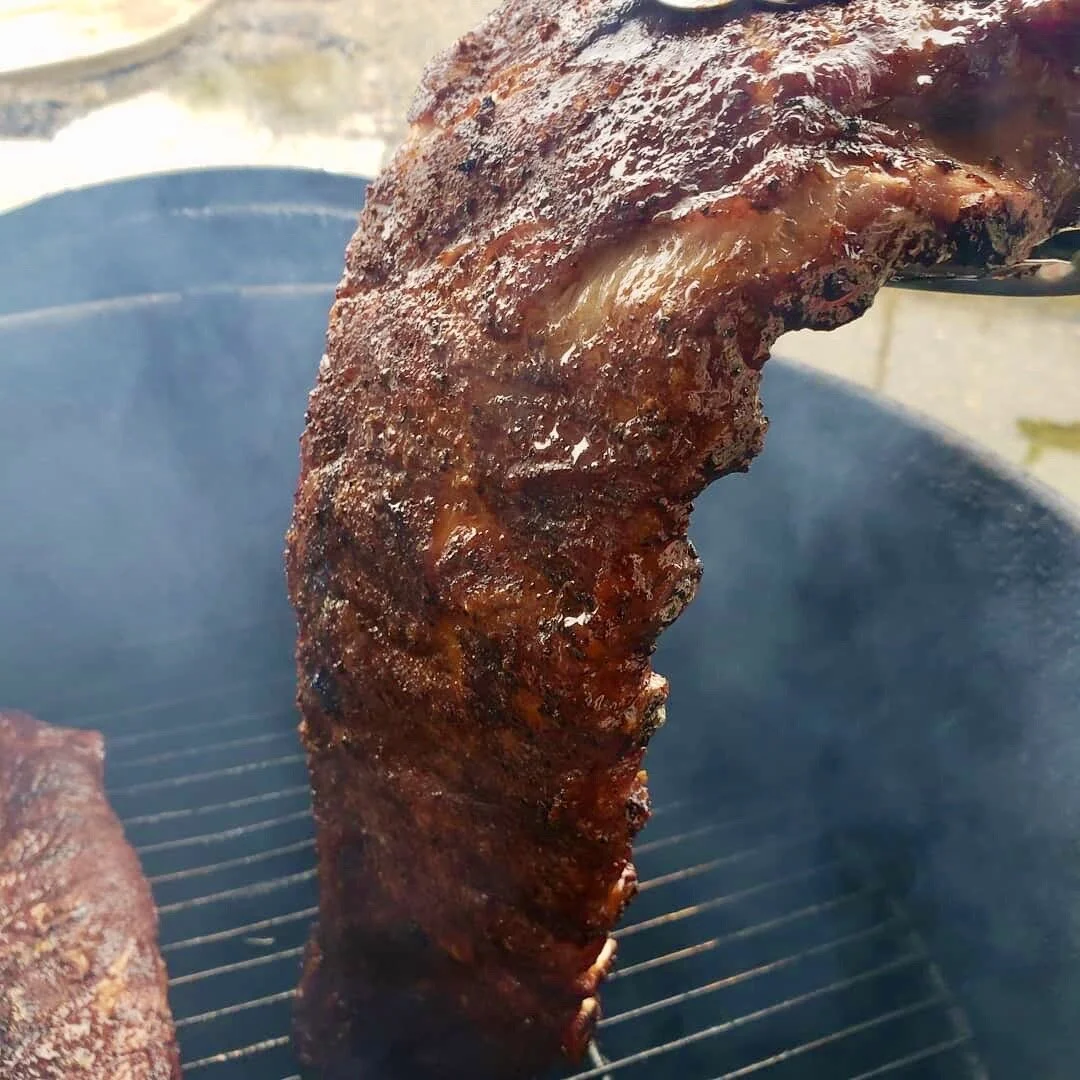
I like to let the ribs hang out like that until that colorful bark develops and we hit about 180 degree F. Once all my ribs are approximately 180F, I will take them out and put in the grill grate for the smoker and then apply a sauce or a glaze. If your ribs are a little tight or will be held for awhile then you might want to wrap them at this point. Otherwise, wrapping is not required. I then let the ribs finish cooking in that manner until I get the perfect bend. The bend test will tell use how tender the ribs are. If you pick up the rack from one side, your meat should just fall over with very little resistance. Just to be sure, I will keep checking the bottom to make sure nothing scorches.
When the bend test is right and the sauce sets in beautifully, I will carefully pull off the ribs and give them a nice place to rest before slicing at eating.
Now get out there and grill
Jay


